Followers

Showing posts with label OPI. Show all posts

Friday, September 12, 2014

Cute Forest Animals Nail Art + Review - Born Pretty Store Water Decals

Hello dear readers!

Today I'm posting a manicure I had on a few weeks ago...

This is my second time trying water decals for Born Pretty Store and this is the result. I will add more details on what I did for this manicure, so keep reading ;)


I started with 2 coats of OPI Glints of Glinda as my base.

To add some dimension to the nail art, I stamped random dots pattern using various pastel colors from the Sally Hansen Insta-dri line. They work beautifully for stamping ;)

Now starts the fun part, using the decals.
You can find these decals at Born Pretty Store through this link.
*Don't forget to use my 10% off coupon code: FDB10

I cut all the designs that I found cute for my manicure...

Put the cut out design on tap water for 15 secs.

Take it out, blot some of the water and slide the decal, proceed to put it on your nail.

I find that putting the decals on top of a nail polish base that's slightly fresh, yet dry to the touch, makes it easier to apply. Apply all the designs and arrange them to your liking. After that, use clear topcoat to protect your nail art.

I really liked these decals as they have lots of designs for long nails like mine. Or if you have short nails, then you'll have lots of decals that will last for many manicures ;) They are fun and easy to use.
*This product was sent for me for review purposes.

What do you think of this nail art? 
I think the designs look like cute animals out of a children's book.

Monday, September 8, 2014

OPI - The Sky's my Limit

Hello dear readers!

I'm back with swatches of OPI - The Sky's the Limit. This nail polish is part of OPI's collaboration with Ford Mustang which celebrates its 50th anniversary.
(I wont comment more on that because I am pretty much clueless about cars, etc...I wish I was, but I'm not -_-).

This is the only shade that I picked from this collection because honestly, it was the only one that caught my attention. It is sparkly and the color finish is very interesting...I'll elaborate more on that below...


The Sky's my Limit is a shimmery blue with metallic finish. It also has a fine gold and green shimmer that shows at certain light but not easy to capture in photograph.

Now, here's the gold/green shimmer I was talking about.
It gives this nail polish such a summer, beach-y flair to it...

...and this is why I stamped some scales to it, reminds me of a mermaid's tail.

Did you  like OPI Mustang collection? Which one did you choose/ would have picked?

♥♥Thank you so much for reading♥♥

Wednesday, July 16, 2014

OPI - Today I accomplished Zero - Swatches and Review

Hello dear readers!

Today, I dedicate a post to show you swatches of  Today I Accomplished Zero by OPI,

This nail polish is is part of the Coca Cola Collection, and this specific color represents Coca Cola Zero.
I've been drooling over this one since I saw the press release pictures and the moment I saw it in store, I grabbed it and then to the counter. I remember looking at the other colors from the collection and explaining my boyfriend what each color represented...I just get excited when there's a color or collection that I like so much.


As you can see, it is a black base, with pink glitter. 
It totally represents Coca Cola and the effervescence of the drink.
Formula-wise it was a bit sheer because it is a jelly base, but 2 generous coats were enough for opacity.
  
I love glitter nail polishes but they are such a pain to remove... It is nice having sparkly nails, but then comes the dreaded moment of removal...sigh :/

Do you like/own this nail polish?
Which one is your favorite from this collection?

♥♥Thank you for reading♥♥

Monday, June 2, 2014

Nail Art/Swatches Compilation

Hello dear readers!

It's good to be back to blogging once again.
This time, instead of posting long overdue swatches and nail art one after another, I decided to post all here.

Scroll down to see more pictures and a brief description of each.

First, I start with swatches of Lacquer Lust - Amor which is a thermal with that turns pastel pink when cold and white when warm. It also has a mix of iridescent hexagonal glitter and metallic pink glitter. Very opaque and easy to apply.
 
Here you can see the thermal effect at its best.


Next is OPI - Love angel music baby from the Gwen Stefani collection. It is a gold that dries to a satin finish, but in this case, I added topcoat for shine.


I used this nail color as the base for water marbling. You can see a short video on my Instagram, here.

Here, I did some lace design stamping. I used OPI - French quarter for your thoughts as the base and stamped with Khroma Beauty - Dahlia. For the accent nail, I stamped with the OPI color over the Dahlia base. I used a lace design from my BuNa A plate.


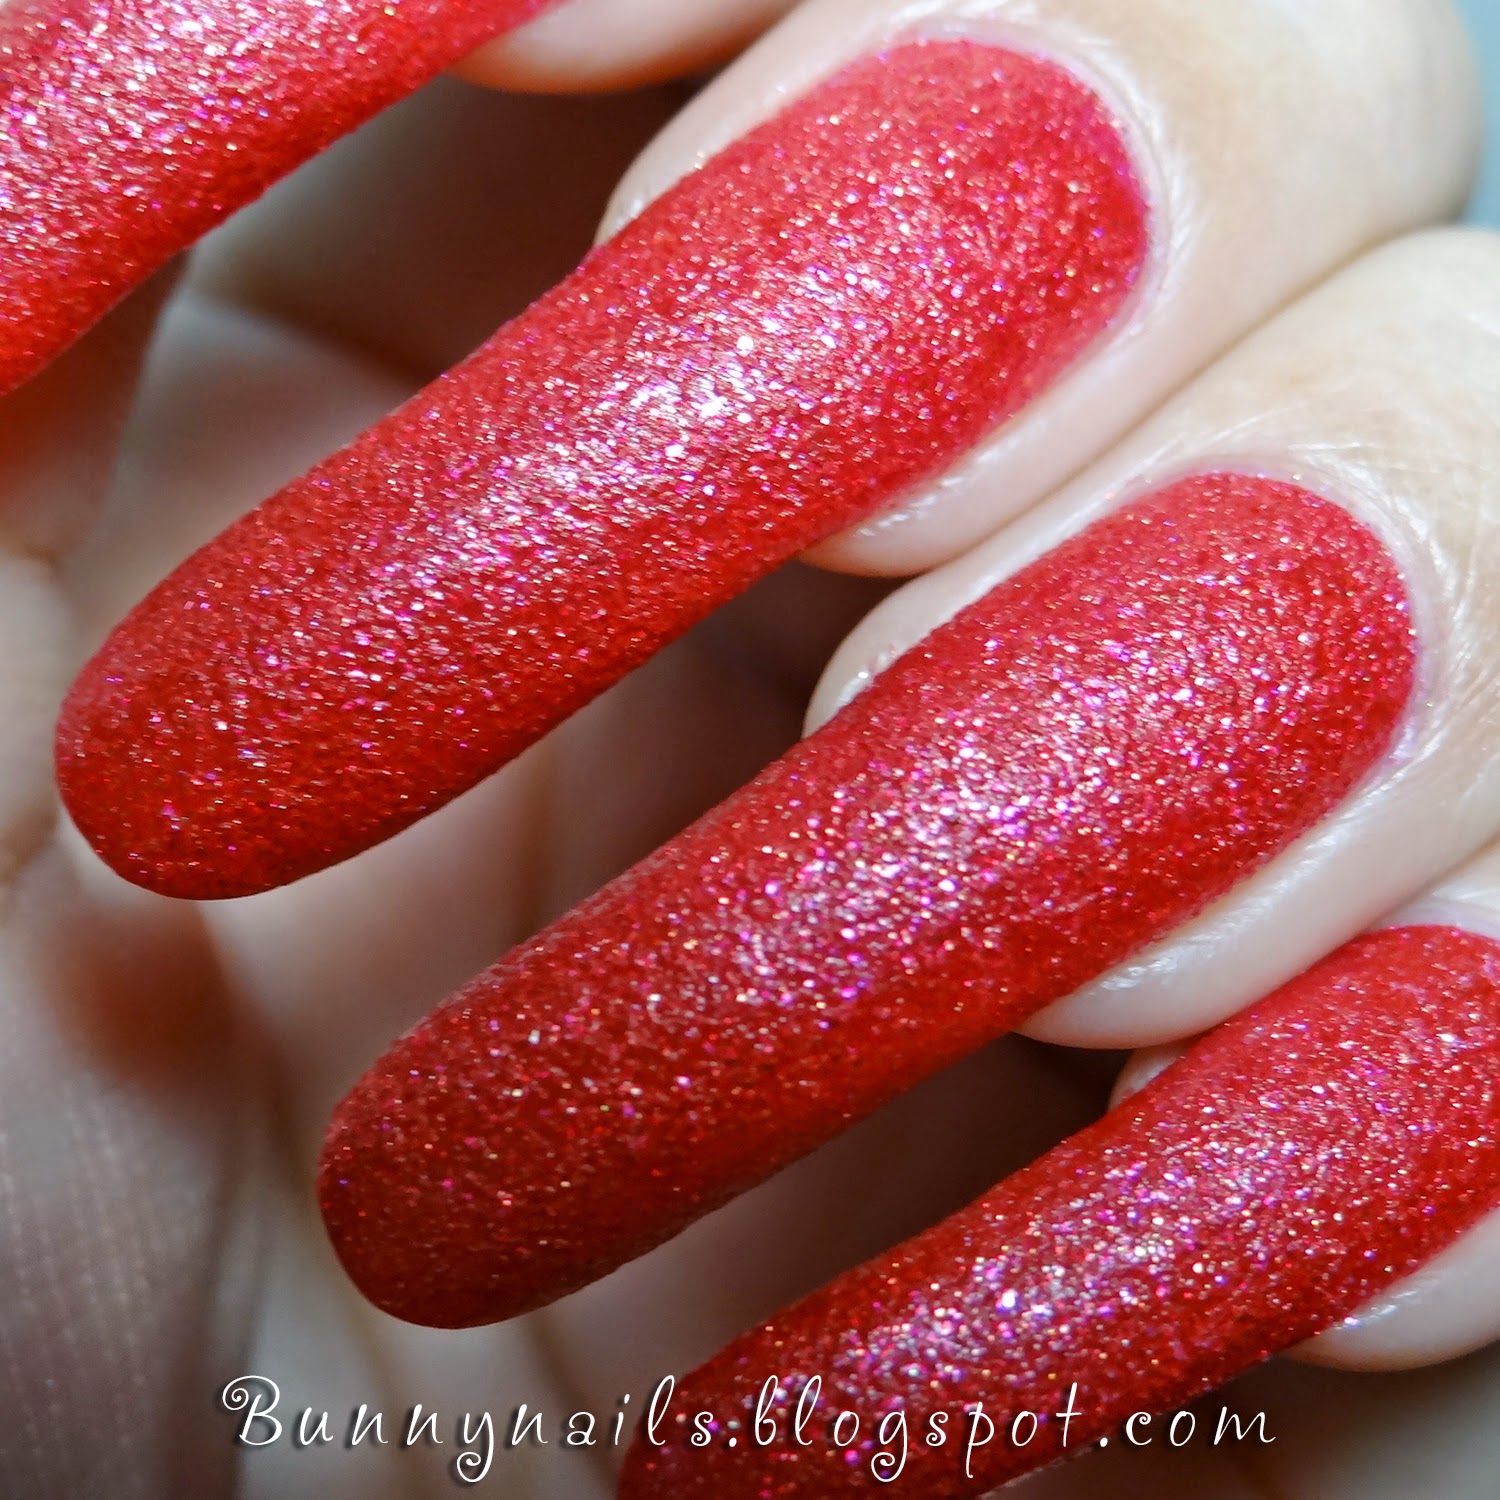
Here, I'm wearing OPI - Magazine cover mouse, a red textured nail polish with gold and pink shimmer.


This is a swatch of Nailnation 3000 - Cashmere topped with 24k gold flake topcoat The Midas Touch by Ninja Polish. I think it was a very nice combination.


This is it! I hope you liked this post.

♥♥Thank you for reading♥♥

Thursday, March 20, 2014

OPI Chic from Ears to Tail + OPI Mini Haul

Hello dear readers! I decided to take a short break from blogging while the giveaway takes place. If you haven't done so yet, it ends in 3 days. You can enter here. It's open internationally. *Also, I wanted to clarify if there's no space to put your email on the 1st entry, and you used FB, it will add your e-mail automatically  ;)

Now back to the subject... I wanted to show some swatches of OPI - Chic from Ears to Tail that I used it as the base for my Love, Love, Love nail art last Valentine's Day.
I also want to show you an OPI mini haul from when I purchased this color.

More details below...

Chic from Ears to tail is a nice bubble gum pink color. It is part of the Couture de Minnie collection.

 Application-wise it was easy to work but it was very sheer. I used 3 coats to get this opacity.

Other than that, it applied smoothly as you can see. I didn't find any problem with streaks, or bald spots. Still, I would have preferred that the formula was more pigmented.

Now onto the haul...
A few weeks ago, I went shopping to Marshalls. If you live in the US, you probably heard of it. I like to go shopping for clothes there once in a while. The beauty section is not so appealing to me, at least on previous times.
That was until I found a bunch of OPI nail polish at a very good price. As you can see on the very 1st pic of this post, these nail polishes came on 2-pack boxes and there were many colors to choose from. I only grabbed 3 boxes because I already owned some of the colors available or I didn't like them...

From left to right: A Butterfly Moment, Sprung (both from Mariah Carey collection), Lights of Emerald City (from Oz the Great and Powerful collection).

From left to right: Chic from Ears to Tail (from Couture de Minnie collection), When Monkeys Fly!, What Wizardry is this? (both from Oz the Great and Powerful collection).

A good bargain 7.99 + tax for 2, considering that they can retail up to $9 each in stores.
I love when I can get nail polishes at a bargain price...they just look so much prettier :D

I also wanted to point out that when I saw "When Monkeys Fly!" swatches when the Oz collection just came out, many were complaining that the big gold glitters were curled up or "taco" glitter as it is also called. I guess, I was lucky enough to find a perfectly nice bottle of this glitter goodness ;)


I hope you liked this post... I'll try to post hauls more often, it's more fun when you have somebody to share these with, right? At least, I enjoy looking at other blogger's haul posts.

Ah, and don't forget to enter the giveaway! ;)

♥♥Thank you for reading♥♥

Thursday, January 23, 2014

OPI - Glints of Glinda...Best nude ever!

Hello dear readers!

Today I want to show you swatches of a nude nail polish that I bought recently... and I'm in love with it!

Many times, I've thought, "this is the one!" when it comes to the perfect nude tone nail polish, but this time I hit the nail polish jackpot. Glints of Glinda by OPI, is not the usual nude tone, it has a jelly finish that makes it buildable to the opacity you choose... and by this, you can have the mannequin hands nail polish look, just  the way you want it

Glints of Glinda is part of OPI's Oz The Great And Powerful Collection. A peachy beige tone with a slight touch of yellow to it, which I think is a close match to my skin tone.

Being a jelly finish nail polish, it is very sheer. Good news is, this nail polish is not streaky and you can apply in layers to reach the desired opacity. This time, I wanted some nail line to show through, so I applied only two coats. Love it, love it, love it! The perfect balance of  no-nail-polish-look and yet, wearing nail polish. Very natural looking.

I'm very tempted to apply some nail art on it, but also, I like how it looks by itself. Very subtle looking.
I better buy 1 or 2 bottles as a back up, because I plan to keep wearing it :D

Have you tried this nail polish? or do you like the mannequin hands look?

♥♥Thank you for reading♥♥

Wednesday, January 15, 2014

Chocolate Swirl Water Marbling

Hello dear readers!

For my 2nd nail art of 2014, I chose water marbling. It is also the 2nd time I try water marbling.

I've always thought that there's a lot of wasted polish when trying it, but then I figured out... with all the nail polishes I have, when am I going to finish a bottle? I might as well put my nail polishes to good use and have fun with it...
For this mani I wanted a combination of powder pink and different shades of brown. Here's what I came up with:
  (More details and pics below)
 Now that I see it, it reminds me a little bit of a cake with swirled chocolate icing...yummy!

For this manicure, I started with Orly - Prelude to a Kiss as the base.

Then I added a drops of :
Finger Paints - Sketchy Character
Milani - Bare with me
Kleancolor - Cappuccino
Nicole by OPI  - Hard-kourt Fashionista

Is a little bit hard to swirl the nail polish around.
I know there's a learning curve to it; maybe I need more practice.

I really like how the pattern came out on my thumb :D

Have your tried water marbling? Has it been easy for you?

♥♥Thank you for reading♥♥


Tuesday, June 18, 2013

Chocolate dipped w/ Candy Nail Art & How To

Hello dear readers!

It's been a long time since I've done nail art...

So one day I was at San Francisco's Ichiban Kan store and stumbled upon the deco section. I saw all those candy deco parts and it occurred to me that I could use a little baggie of fake candy sprinkles on my nails and achieve a 3D type of nail art.

So here's the final result:
Note: Scroll down for instructions on how to do it yourself ;)
 

1. Start with a cream finish white or pastel colored nail polish as the base.
I used Orly - Cotton Candy

2. Use a dark brown nail polish or acrylic paint and paint on the tips of the nails as if you've dipped them in chocolate. The dripping effect depends on the length of your nails... there's no right or wrong way to do this. I used OPI - Suzi Says Da! for it's chocolate-like color.

3. I added little dots of clear nail polish and placed the fake candy sprinkles randomly.
*You can get these on Etsy, search for "deco fake candy sprinkles"
**You can also make these sprinkles yourself with polymer clay. I found a how-to video here.
***If you are not into 3D nail art, you can use acrylic paint or nail polish in pastel colors and draw little lines to emulate the small candy.

4. Apply 1 or 2 layers of clear topcoat to protect your nail art. I thought the candy parts would fall off right away, but I was wrong... they can last a week or more but believe me... it is not the most practical nail art to wear everyday... I had such a hard time washing my hair XD

Here's an extra pic that I posted on my Bunny Nails Facebook (feel free to add me) of me wearing this nail art.

What do you think of this nail art? Would you add the candy sprinkles or paint them instead?

♥ ♥Thank you so much for reading♥ ♥
Related Posts Plugin for WordPress, Blogger...